Manufacturing of bumper supports
During the rebuilding of the bumpers of our Peugeot 205, we noticed that the brackets that were holding them in the back were in bad shape due to rust. Also, since we replaced the original front skirt with a Peugeot 205 GTI skirt and decided to include the long-range headlights, we had to redesign the support parts.
Of course, these parts are available for purchase and not necessarily very expensive, but on one hand we wanted to reduce the cost of the project, and on the other hand we would have the pride of making some of the parts ourselves. In this article we explain how to make these pieces at home if you want to change yours.
To make our new pieces, we chose to use a 1.5mm thick stainless steel rod, 20mm wide and 1000mm long, which can be cut and folded easily.
Rear supports
Step 1: Design
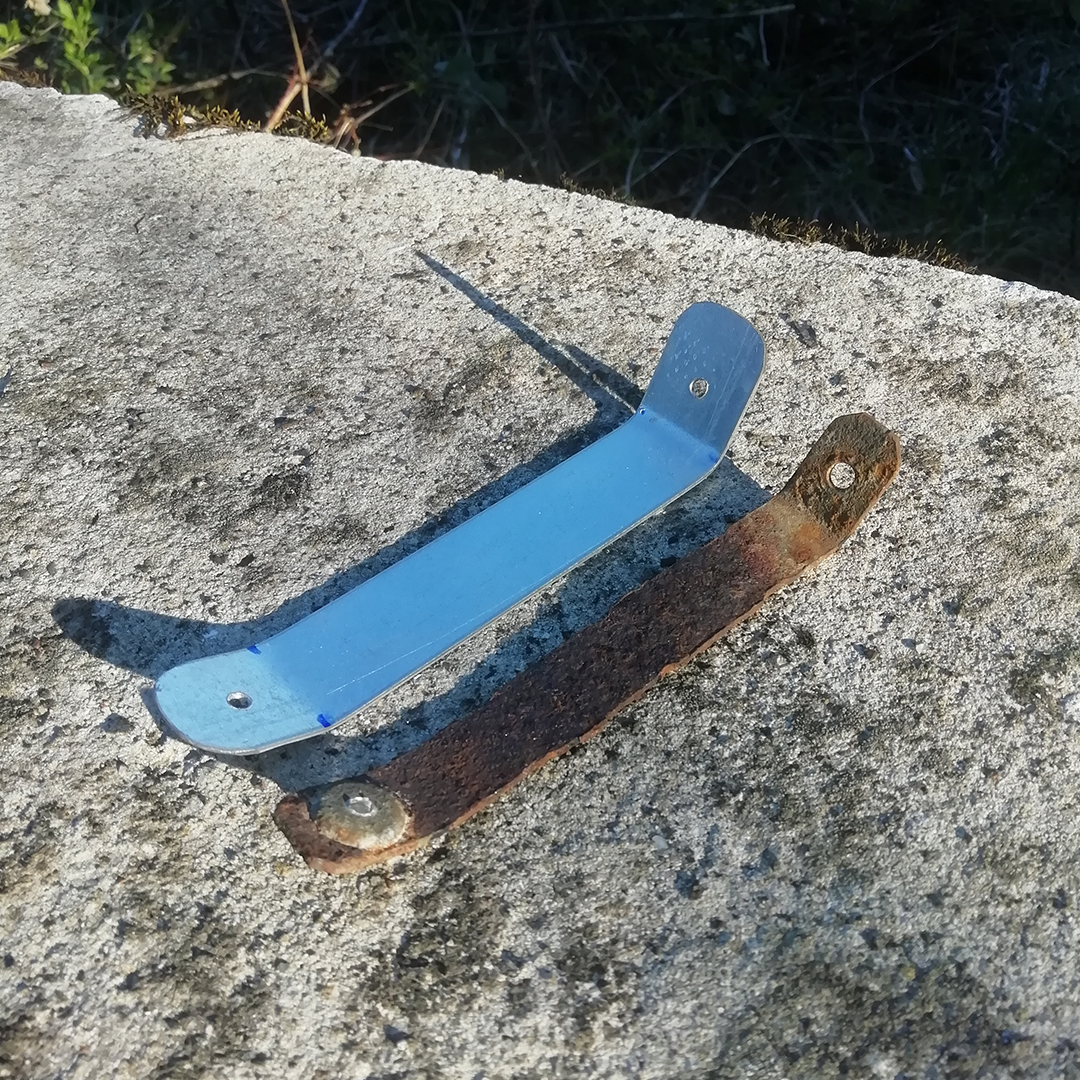
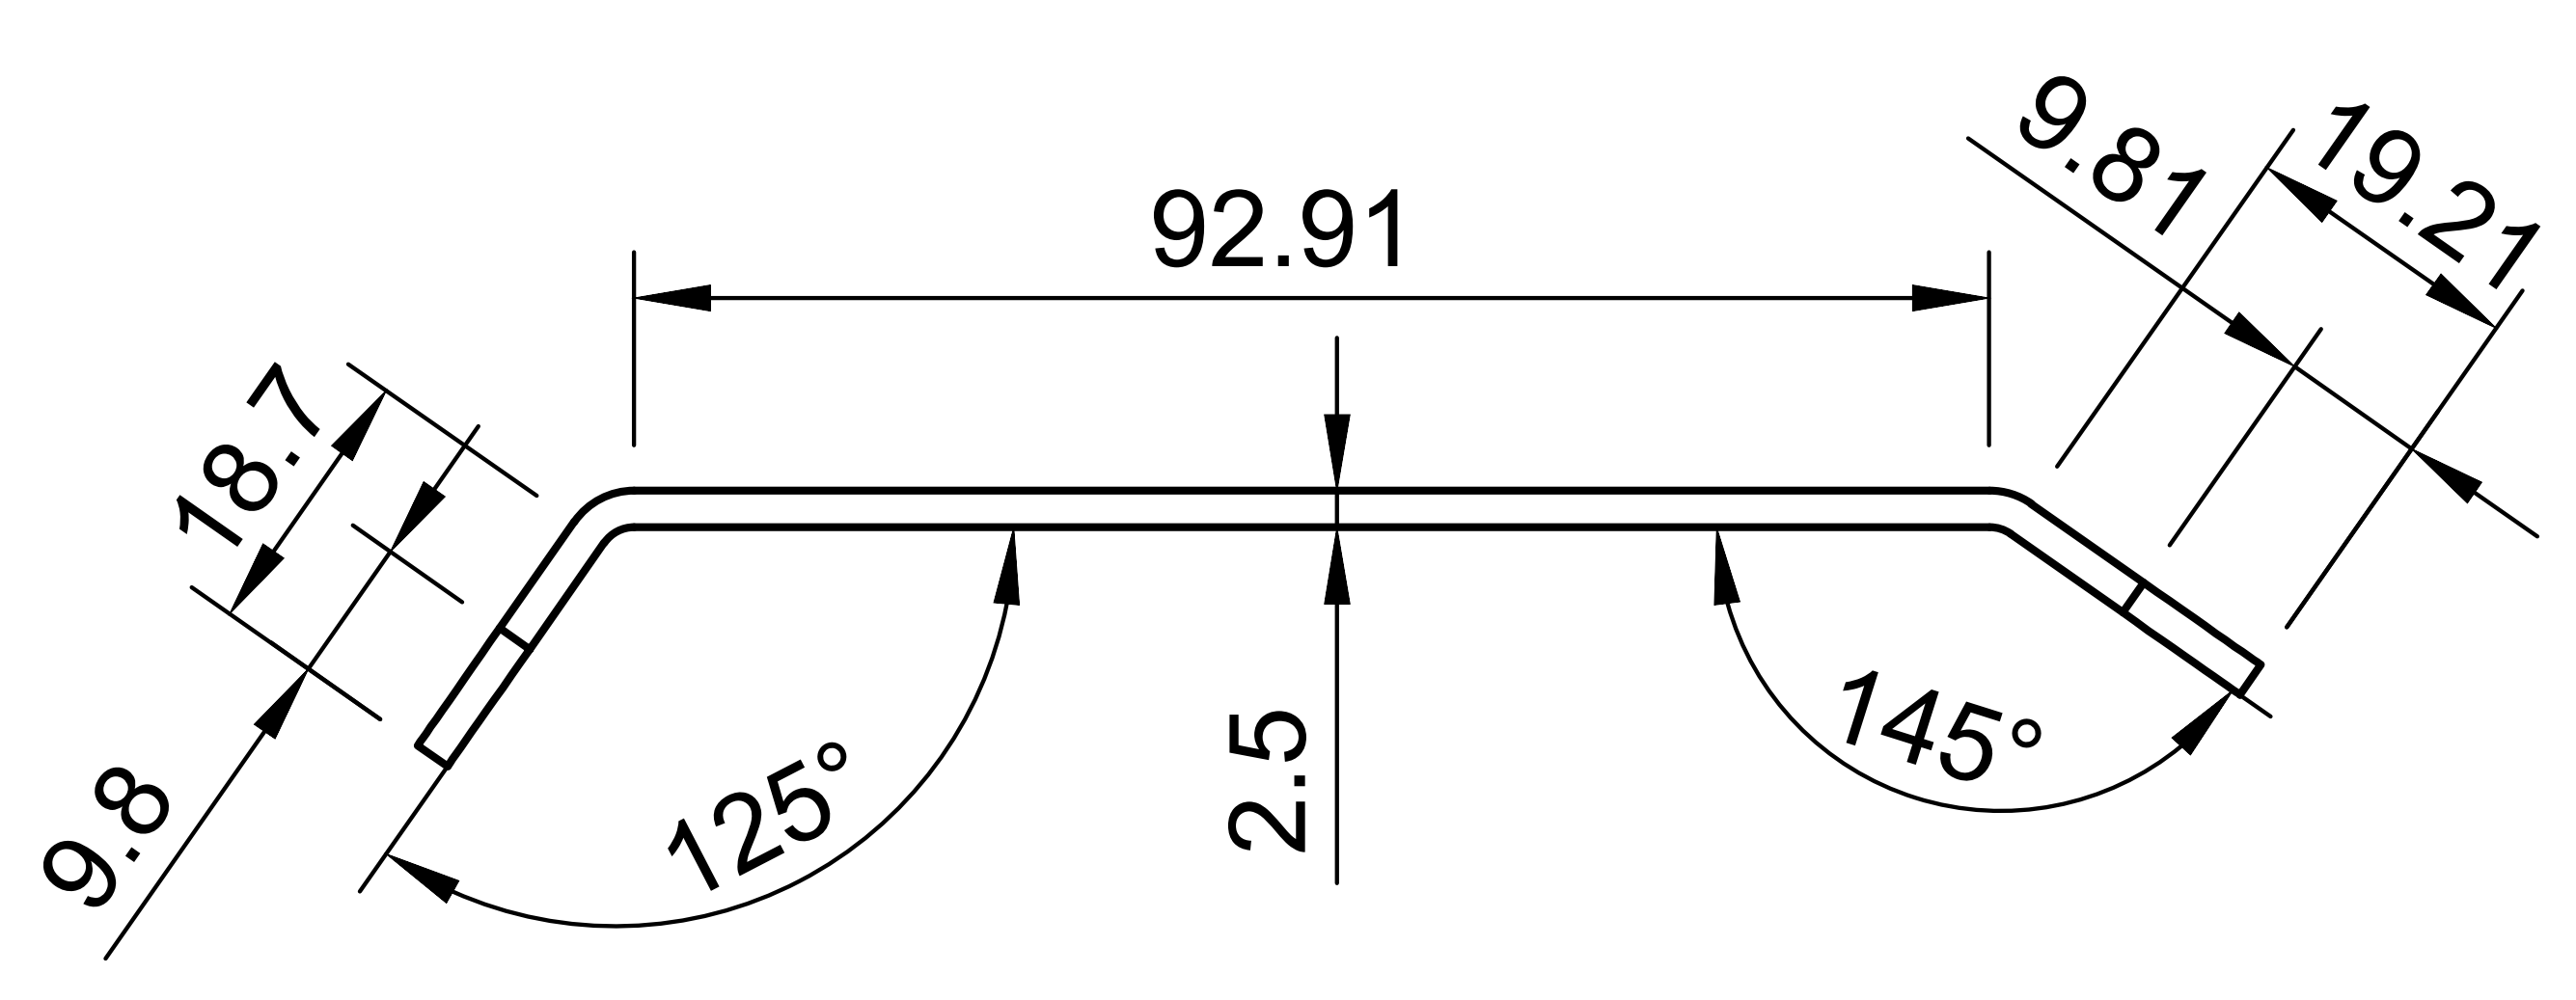
Concerning the supports of the rear skirt, we dismantled the two existing rusty supports, in order to measure them to make the new ones.
Step 2: Manufacturing
So we cut a piece of our stainless steel rod, drilled it at both ends, and then bent it in a vise with wooden wedges.
Then, we fixed it with rivets to keep the rear skirt firmly in place.
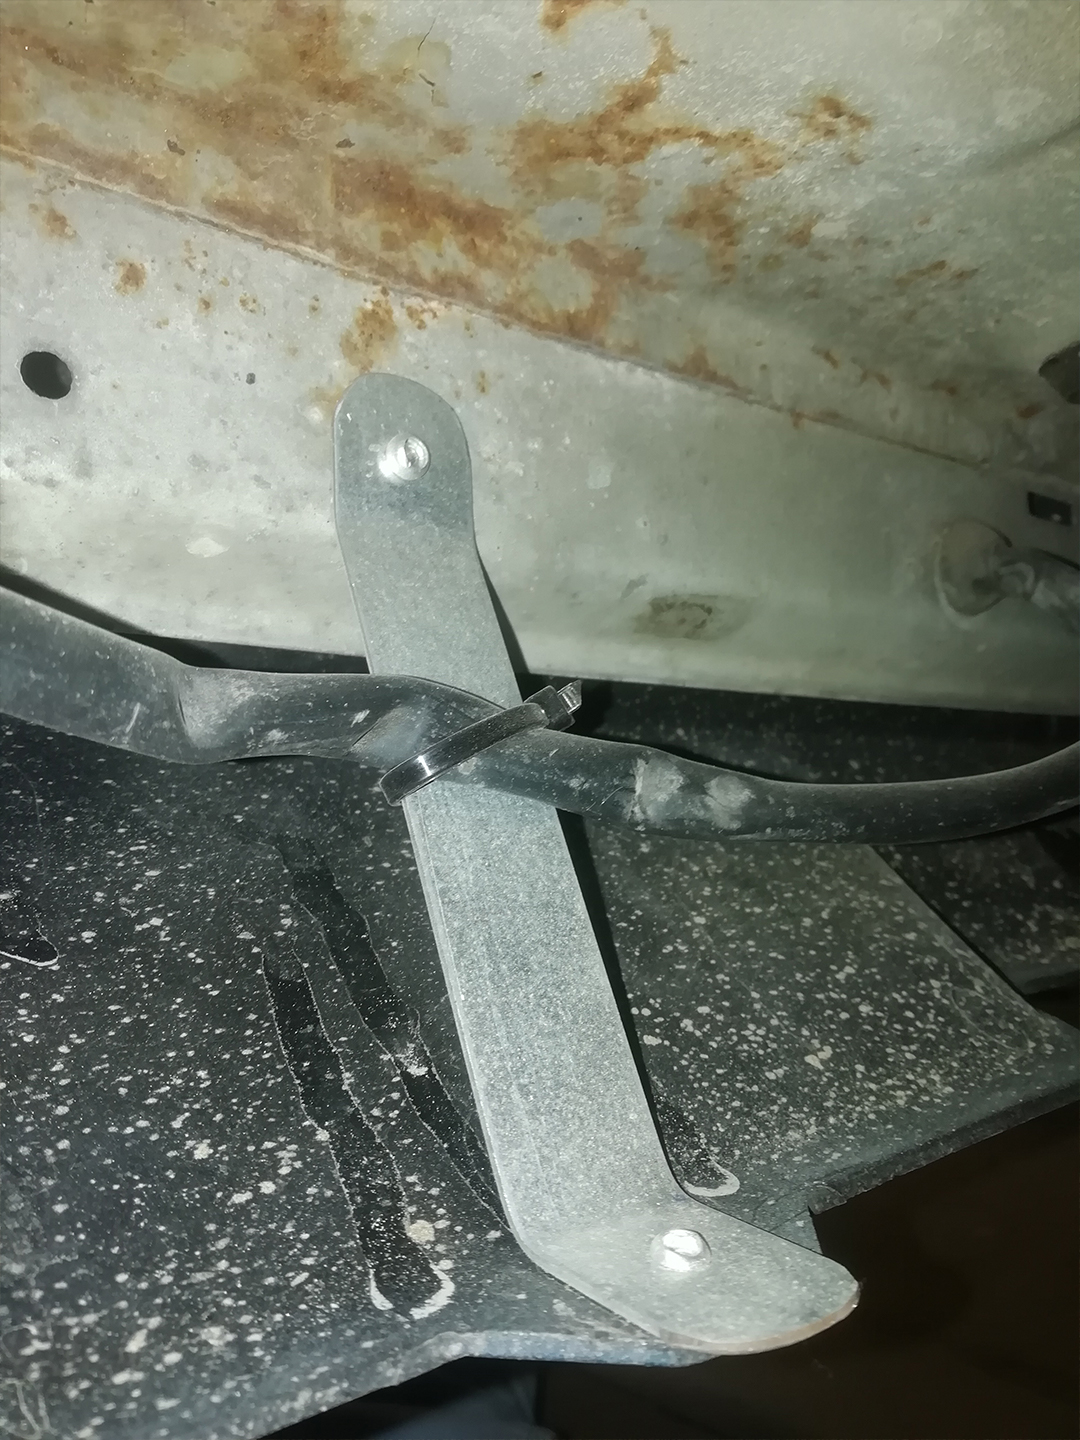
We then repeated the operation to create a second support piece to put on the other side, as it was originally.
Warning The parts may need to be adapted to the exact shape of your body kit. For example, we slightly ground down the front brackets to make them more rounded so that they would not interfere with the mounting, and we also straightened the right angle so that our part would fit the chassis.
Front supports
Step 1: Design
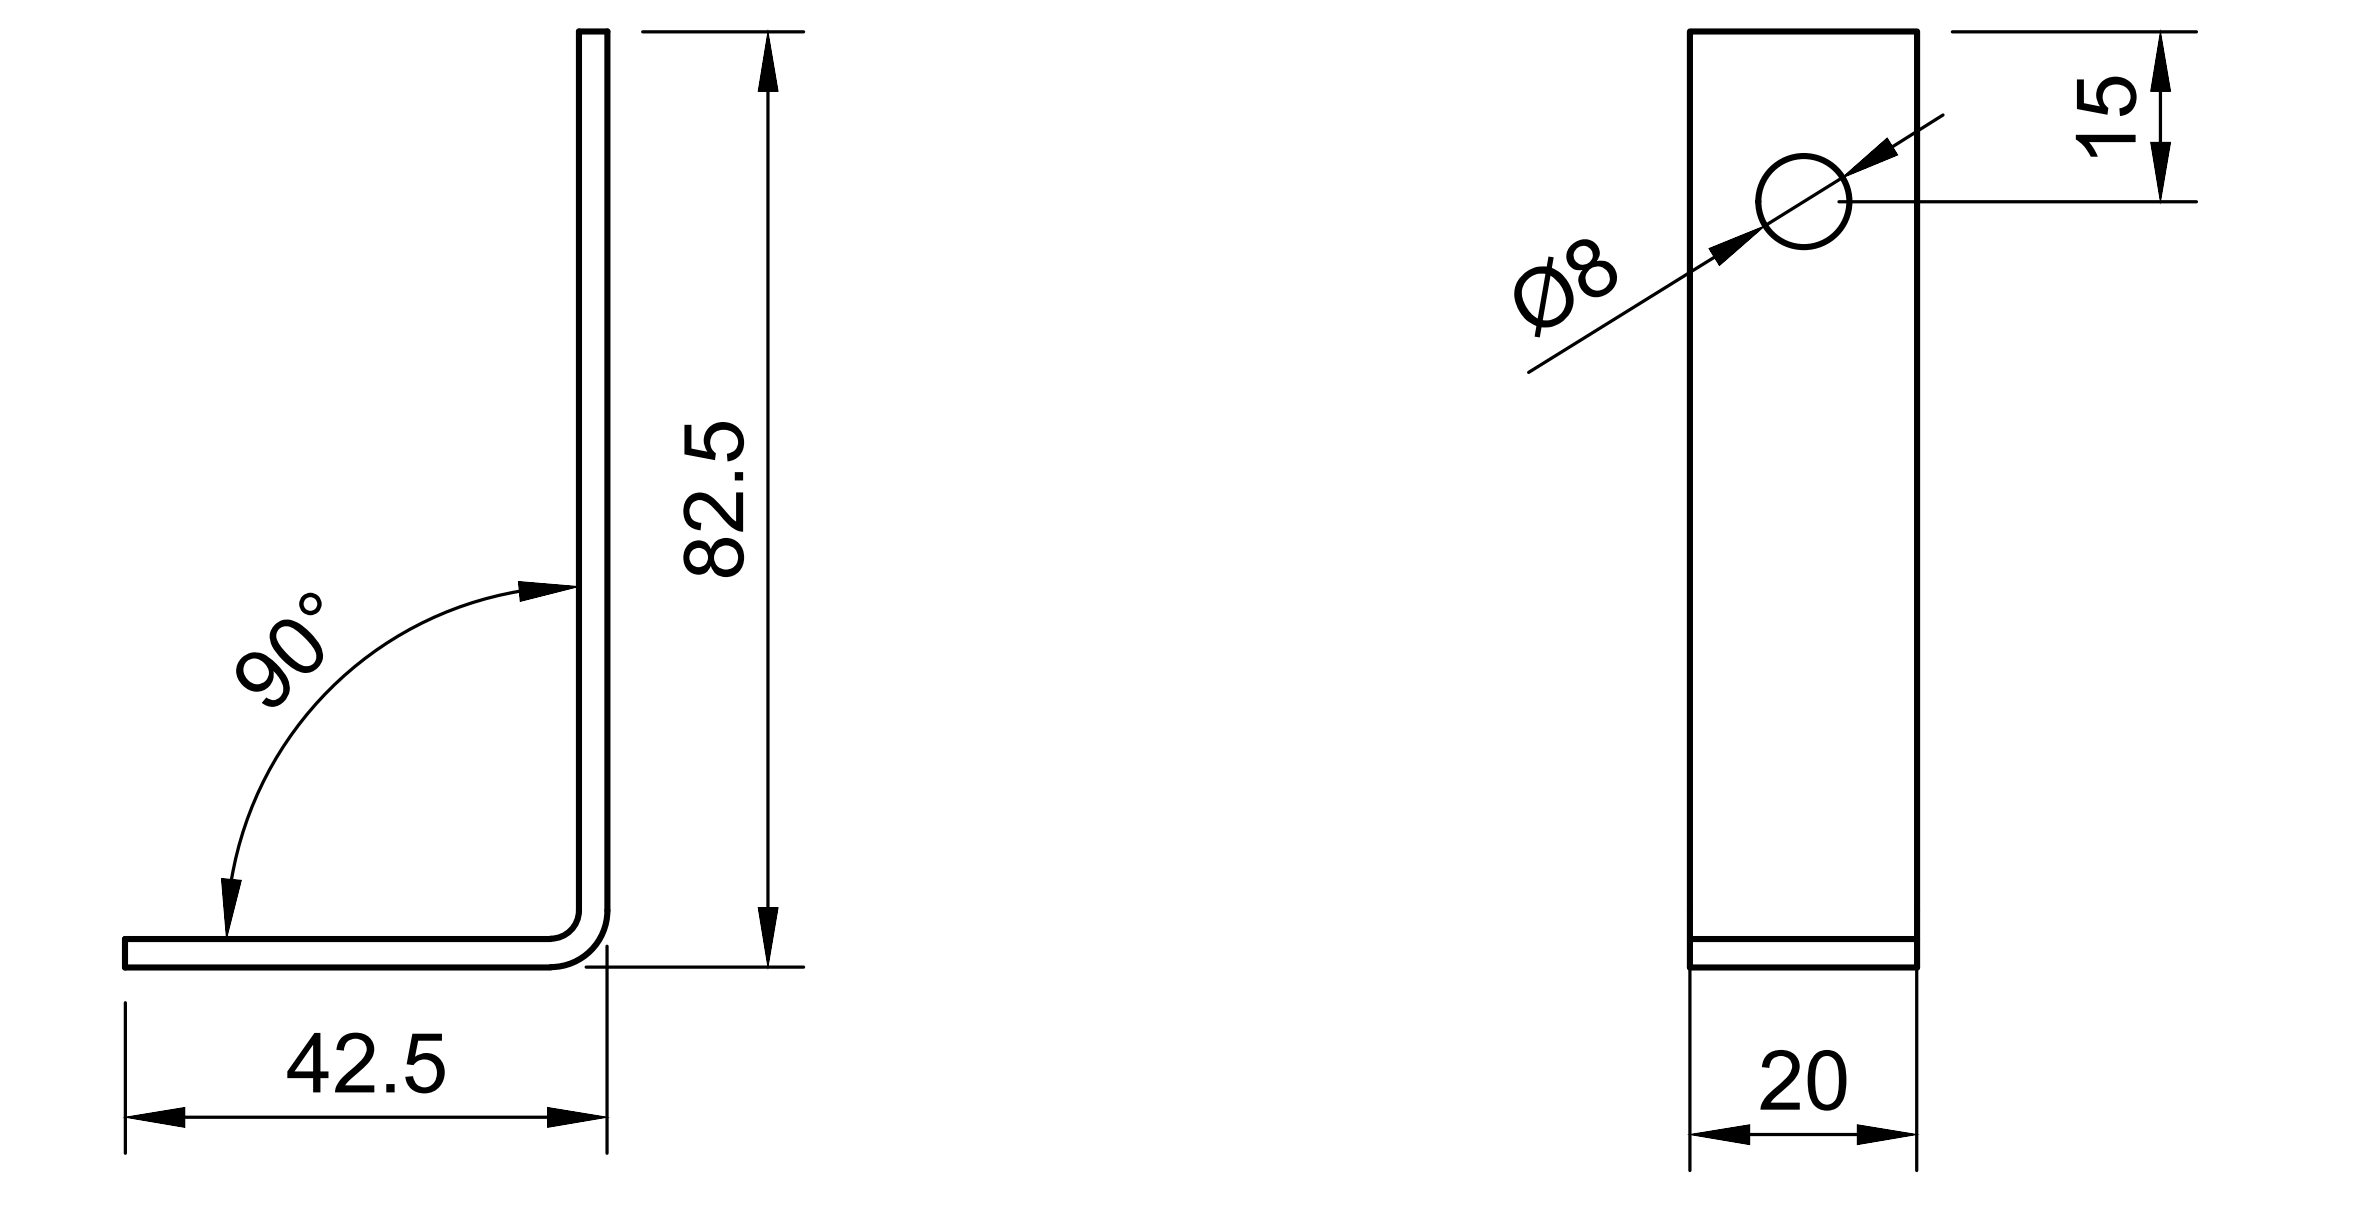
Regarding the front skirt brackets, we had to take measurements ourselves once installed, as the brackets were not included with our front skirt.
Concerning the holes, we needed to put the large screws of the long range lights, so the parts have larger holes than the ones on the rear supports.
Step 2: Manufacturing
For the manufacturing, we use the same process as in the first part on the rear supports: we cut a part of the stainless steel rod to the desired length, we drilled and then we bent it in a vice.
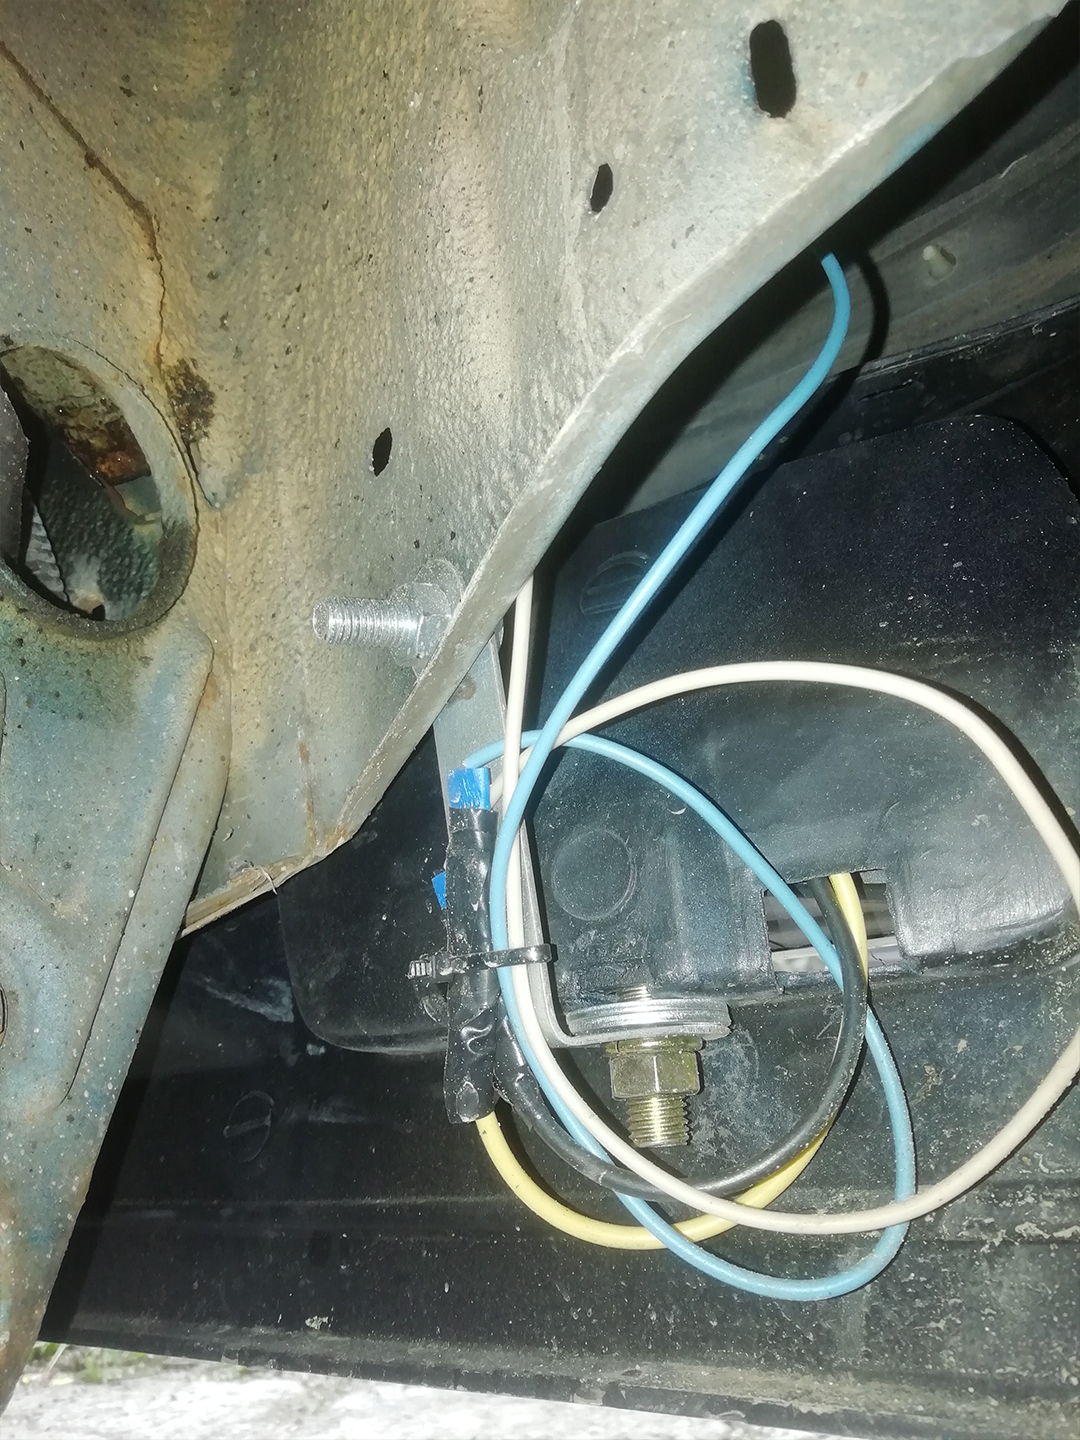
We make two similar pieces, one for each side, and fix them between the frame and the skirt (using the screw provided with the long range lights).
We now have front and rear brackets to strengten the skirts of our Peugeot.